
Although spring cleaning is often a chore that no one is eager to take on, it can be a great way to spruce up the rooms of your home and make everything fresh and tidy. The kitchen is usually the room that needs the most attention, and using all-natural cleaners is a safe way to tackle spring cleaning without exposing your family to harmful chemicals.
We’ve gathered a list of all-natural cleaners that can be made with ingredients you probably already have in your kitchen. Don’t be intimidated by the task at hand — it’s easier than you think!
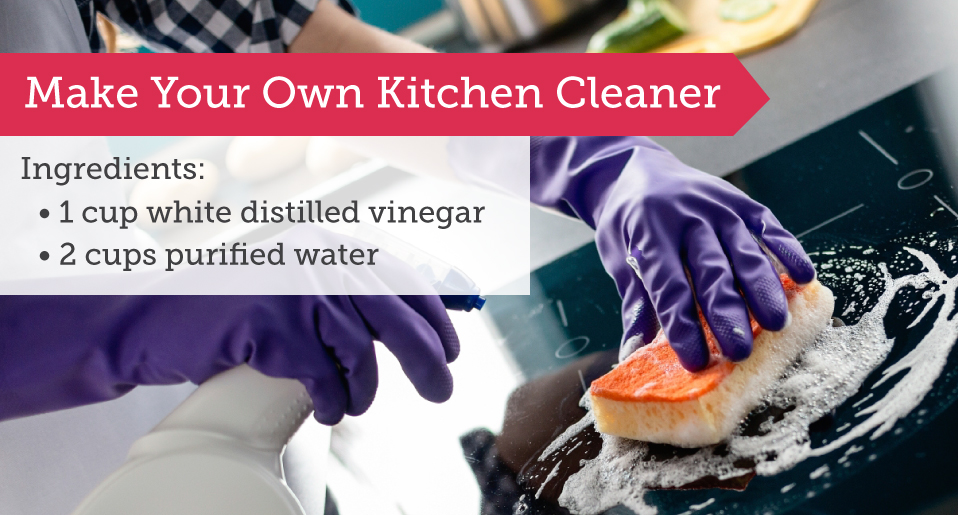
Make Your Own Kitchen Cleaner
Although there are dozens of kitchen-specific and all-purpose sprays available on the market, it’s easy and cheap to make your own cleaner. You can be sure your family isn’t being exposed to any toxic chemicals — and you can save money in the process.
To make an all-purpose cleaner that’s strong enough for the toughest of kitchen spills, follow these simple steps:
Ingredients:
- 1 cup white distilled vinegar
- 2 cups purified water
Combine the vinegar or water in a small bucket if you’re using it immediately. For a cleaner that can be used over time for daily sprucing up, mix the ingredients in a clean spray bottle. You can add a few drops of essential oil if you’d like the cleaner to leave behind a fresh, natural scent.
General Kitchen Cleaning
Before tackling the large appliances like your stove and refrigerator, it’s a good idea to get rid of any clutter on your countertops or old food items you aren’t going to use. You’ll need the empty space to store your pots and pans while the oven is being cleaned, and a un-cluttered kitchen will be easier to work in when you get down to the hard stuff.
Here are some more suggestions on how to clean your kitchen:
- Wipe off your smaller appliances like toasters and coffee makers. Make sure to empty out crumbs and spills from inside toaster ovens, and run the baking racks through the dishwasher or give them a good scrubbing
- Dust every surface, including the walls, ceiling and any artwork. If you have a ceiling fan, use a wet cloth to wipe off the blades.
- Take down curtains and put them through the laundry.
- Put out a fresh dish towels and get rid of any that are wearing out — or repurpose them into cleaning rags.
Tackling some of these smaller projects first makes things cleaner and fresher and can help you get inspired for the bigger stuff.
Now you’re ready to take on the big appliances and projects that will likely require a bit more elbow grease, but they will leave your kitchen in tip-top shape.
Flooring
Kitchen floors see a lot of foot traffic and spills, often making them a big dirty mess. Getting the floor to shine will depend on the type of flooring you have, but here are some basic tips:
- Combine one part hot water with one part white vinegar in an all-purpose spray bottle.
- Spray the cleaner on just a few feet of your floor at a time. Use your mop for large overall cleaning, but you might need to get down on your knees and scrub with paper towels or cloth rags for problem areas.
- Spray a generous amount around doors and the cabinets that touch the floor. An old toothbrush can be used to scrape out the dirt that’s trapped in grooves.
- When cleaning tile and grout, spread some baking soda on the worst areas and spray with hydrogen peroxide, making sure the area is well-ventilated to prevent fumes from building up. Scrub and wipe with a damp towel. Wipe a second time with a clean wet cloth to ensure all of the peroxide is removed.
Oven
Self-cleaning ovens are designed to turn spilled grease and bits of food into ash by subjecting them to high temperatures. The oven should have a lock on the door to prevent it from being opened during the cleaning cycle, which is a nice safety feature that prevents burns. Once the cleaning is finished and the oven has returned to a safe temperature, you can simply wipe out the ash with a damp cloth.
Although the easiest way to clean your oven might be to simply flip on the self-cleaning option, there are several reasons why this isn’t such a good idea:
- Self-cleaning ovens use a lot of power. Since an oven heats up to 1000 degrees and can stay at that temperature for two hours or more, it’s costly in terms of electricity (or gas) that’s used, and it puts a big drain on your power supply. It’s not unusual for self-cleaning ovens to blow a fuse, either, especially if other appliances are being used at the same time.
- It’s time consuming. Self-cleaning ovens can take as long as three hours to heat up to high temperatures and cool back down. Theoretically, it’s safe to leave the oven unattended during this time, but most people feel safer staying close by to keep an eye on things. This means you’ll need to block out a good portion of your day to be on standby in case of problems.
- It emits toxic gas. Self-cleaning ovens, and most modern ovens, are coated with a porcelain enamel that burns off at high temperatures. As this burns off during the self-cleaning process, gases can escape into your home.
- Food and grease will catch fire. Since the residue in your oven is getting so hot, it’s going to catch on fire and turn into ash. This is relatively safe in the confines of your oven, but it’s not unusual for smoke to seep out — possibly setting off your smoke alarms and leaving your kitchen in a smelly haze.
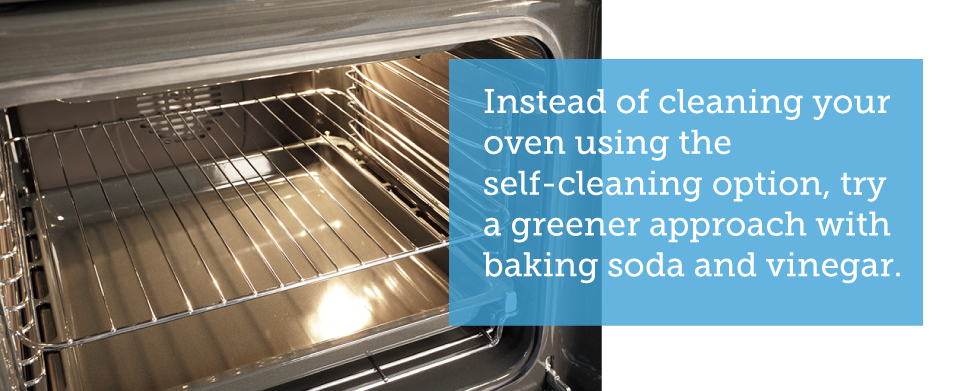
If you’d like to clean your oven naturally without using the self-cleaning feature, consider the following method:
Ingredients:
- Baking soda
- White, distilled vinegar
- Paper towels or cloth scraps
After removing the baking racks, coat the bottom of your oven with baking soda. Use enough so the baking soda blankets the oven floor evenly.
Pour or spray the vinegar on top of the baking soda. You’ll notice some foaming as the two ingredients react. Let it sit for at least four hours.
Use paper towels or rags to wipe out the baking soda mixture, along with the caked-on grease and spilled food. If some spots are still dirty, use a hard plastic spatula to scrape them off.
This same method can be used on the baking racks. Simply spread the baking soda on the racks, douse with vinegar and place them somewhere to sit. A back porch or mud room are good places to keep them out of the way.
Refrigerator
Cleaning out the fridge is one of the biggest jobs you’ll take on while spring cleaning. You need to time your cleaning just right so you can get the food out, clean the refrigerator and get the food back in before it spoils.
It might be best to do this at night or in the evening when the outside temperatures are cooler. That way, you may be able to put your refrigerated food into a large bin or laundry basket and place it outside during the cleaning process.

Start by tossing out any old food, like lunch meat or cheese, that have spoiled or that you’ll simply never eat. There’s no point in trying to keep food cold if it’s unwanted.
Once the food is removed, pull out the shelving and bins and place it all in your sink or bathtub. Spray the inside of the refrigerator with the one part vinegar and one part hot water solution.
While you let that sit for a few minutes, spray down the bins and rinse them off with warm water. Using a cloth or sponge, wipe off the cleaner from all areas of the refrigerator. For caked on food spills, try using an old toothbrush to aid in stain removal.
You’ll want to make sure all of the cleaner is removed from the inside of the fridge as well as bins and shelves, so wipe everything down again with a fresh cloth. Let the doors stand open for a minute before putting your food back in. Although the non-toxic spray won’t harm your food products, you probably don’t want to smell or taste vinegar somewhere it’s not needed.
If you unplug your refrigerator during this process, this is also a good time to vacuum the coils. Dustballs and pet hair are likely to get sucked into the coils and underneath the fridge, which can cause it to run slower and less efficiently.
Microwave
There’s probably nothing in your kitchen that gets dirty quicker than the microwave. It’s used so often, and by so many people, that residue from spills and small explosions pile up fast. Fortunately, it’s just as quick and easy to clean it.
After wiping down the inside with a damp cloth to pick up large pieces of leftover food, place a microwave-safe cup of water on the turntable and microwave it for about two minutes — or until it boils. The steam that’s released from the water will soften the leftover gunk, making it easy to wipe off. If you have really caked on stains, try spraying a bit of white vinegar on the stains before heating the cup of water.
Once the inside of the microwave is clean, remove the turntable and wash it with your regular dish detergent in the sink to make sure there isn’t any food left on it.
Dishwasher
Although dishwashers have made the task of cleaning and sanitizing glasses and plates much easier than doing them by hand, they’re also a magnet for yucky smells. However, figuring out how to clean a dishwasher naturally is relatively easy with the following steps:
- When your dishwasher is empty, pull out the food trap and clean it out.
- Wipe down the inside of the dishwasher with a damp rag to remove any stuck on food.
- Add white vinegar and baking soda to the detergent holder and run it on its normal wash setting. This will remove any built up soap scum and will clean it thoroughly to remove stagnant water smells.
Garbage Disposal
Most garbage disposals can be easily cleaned with the flick of a switch, just like you do when you use it. All you need to do is slice a fresh lemon, and then put the slices down the disposal. Wait about 10 seconds. Then, flush the disposal with water and run it. The lemon will clean the disposal while freshening the smell. Another option is to put baking soda and warm water through the disposal.
Once you’ve done that, toss a few ice cubes into the disposal. This will help sharpen the blades and will catch any leftover pieces of lemon that may be stuck.
The Kitchen Sink
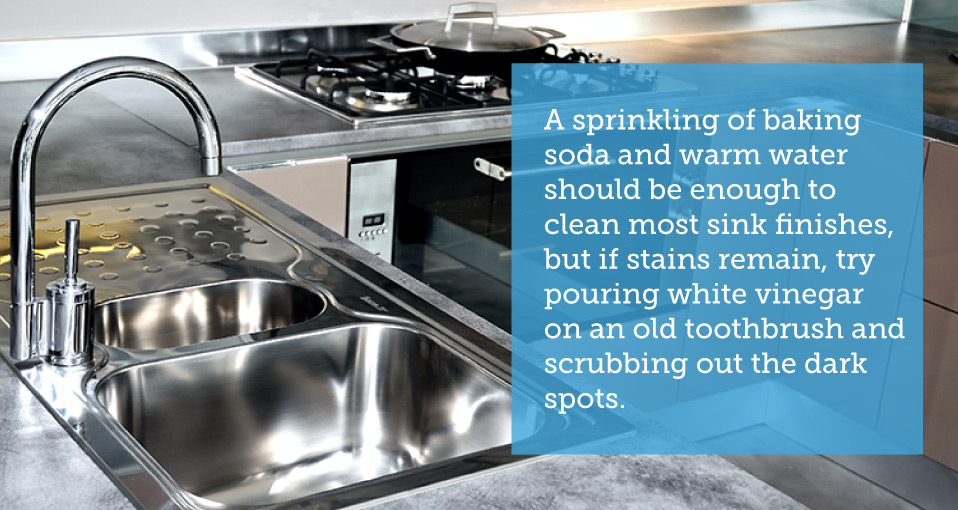
The sink is tricky because it’s easy to scratch and stain, so make sure you know what type of material your sink is made from before you clean it. A sprinkling of baking soda and warm water should be enough to clean most sink finishes, but if stains remain, try pouring white vinegar on an old toothbrush and scrubbing out the dark spots. You can even use toothpaste since it’s gentle enough not to wear down the finish.
Kitchen Cabinets
Cabinets can pick up smells from seasonings like garlic or curry and can actually leave an odor on your plates and dishes. Luckily, like other areas of your kitchen, it is relatively easy to clean kitchen cabinets naturally. You just need to make the time to do it.
Once you’ve removed all of the plates, bowls, cups, food, etc. from the cabinets, spray the inside with an all-natural cleaner. If you line your cabinets with paper, remove the old paper before you clean.
After everything is dry, re-line with fresh paper. Keeping your shelving and doors clean will prolong the life of your cabinets in addition to preventing unwanted smells from settling in on your dishware and other accessories you keep in your cabinets.
When you’re cleaning your kitchen cabinets, it would also be a good time to reorganize them. Get rid of storage old containers that are missing their lids and toss the old coffee mugs and glasses that no one ever uses.
Cutting Boards and Other Small Items
Once you’ve taken care of the big appliances, don’t forget those easily overlooked areas, like light switches, door knobs, oven buttons and burner covers. These are areas that can harbor old food smells and bacteria and will prevent your spring cleaning efforts from being fully effective.
One of those smaller items that is easy to overlook is your kitchen cutting board. It is important to clean it thoroughly, however, because it regularly comes in contact with bacteria and germs from the foods you slice and cut on it. Some of these bacteria and germs get pushed down deep by that regular chopping and slicing.
While many people use simple dishwashing detergent and water, this can actually weaken the fibers and make the cutting board more susceptible to harboring bacteria. Instead, spray the cutting board with hydrogen peroxide and wipe it off with a rag or sponge that’s been moistened with vinegar. Sprinkling the board with pure lemon juice will also eliminate odors that may be left behind from garlic and other herbs.
Spring cleaning your kitchen can seem like an overwhelming task. However, when you break down the process into segments and use all-natural cleaners, it becomes much more bearable — and dare we say even a tiny bit enjoyable? If nothing else, the level of accomplishment you’ll feel once everything is done will be well worth the effort.
For more great tips on spring cleaning your kitchen or to share your own advice, like us on Facebook.